
General
How to Choose the Best Antivirus Software
Simplify your search for an antivirus software with this guide.
read moreFind the location nearest you
Published on: November 1st, 2019
In recent years, mobile phones have become the preferred way to take photographs. In fact, 85% of photographs are taken on smartphones. Industry leaders, like Apple, have taken note and have enhanced their camera on the latest models of the iPhone. Apple’s key selling point on the iPhone 11 Pro Series is the triple-system camera. With updated portrait and panorama modes, and a new night mode feature, users will be taking images unlike ever before on an iPhone. Chances are, once you start taking unparalleled pictures, it will be difficult to stop. That means that, eventually, you’ll get the bothersome notification letting you know you’re storage space is almost full. The best solution to this common problem is to learn how to transfer iPhone photos to computer.
Uploading your photos to your computer will not only free up your storage, it will also keep your memories backed up in case your iPhone is lost or damaged. Read on to learn the easiest way to import your pictures.

Before you upload your eye-catching images to your computer, you should consider reviewing the photos on your iPhone. Delete any duplicate or blurry pictures you don’t necessarily want to keep, so you have extra room on both your phone and computer for more meaningful content. Once you’ve narrowed down your images, you’re ready to transfer.
To start, you’ll want to make sure the latest version of iTunes is installed on your Mac or PC. Users can only upload photos with iTunes 12.5.1 or later, so take a moment to check your iTunes software. Not sure how to check? Click the “Help” menu at the top of the iTunes program window and select “About iTunes.” The first line of text in the window will tell you what version you are currently running.
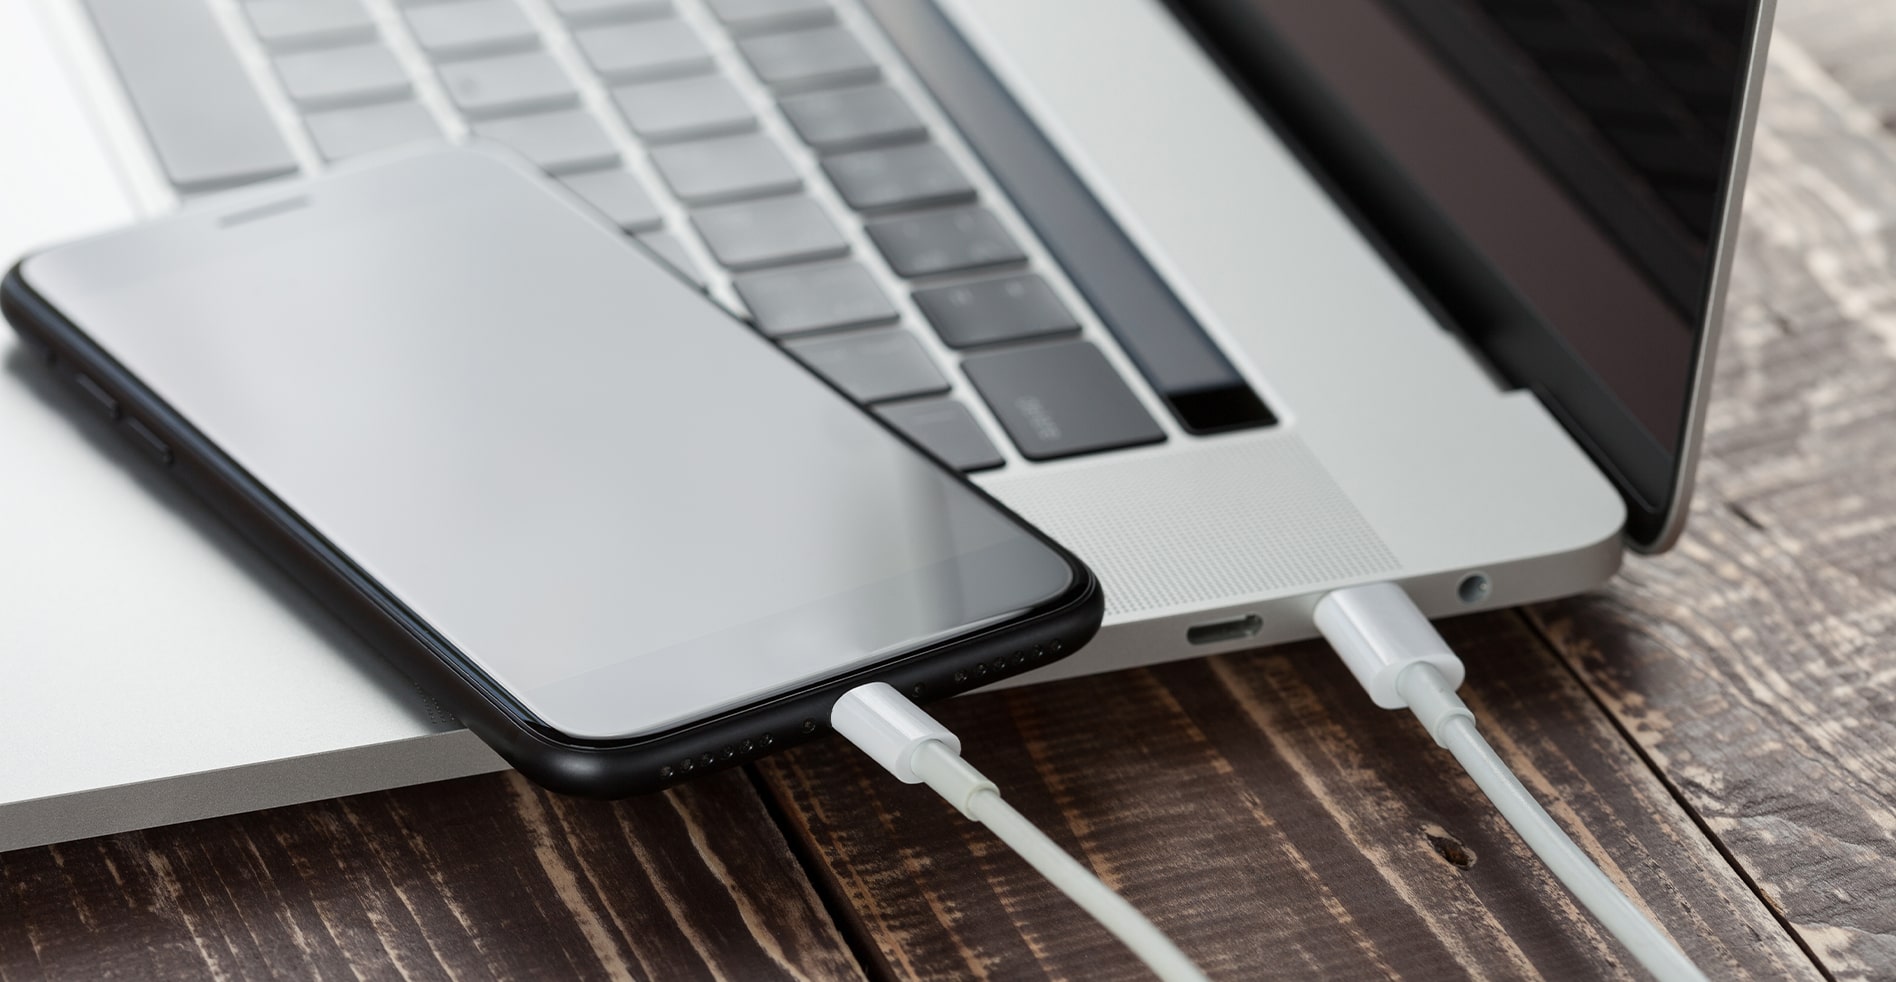
With your Lighting to USB cable, plug your iPhone into your computer. Once your iPhone connects to your computer, you may need to unlock your Apple device, and a notification may appear, asking if you want to “Trust This Computer.” Select “Trust” or “Allow” to continue.
If your computer’s Photo App does not immediately appear, you’ll want to open it on your screen. You’ll see an import screen that has photos and videos you may have previously uploaded. Here you will have to option to “Import Selected Photos” or “Import All New Items,” so you can either manually select the images you want to import, or import all of the pictures that aren’t already on your computer.
Depending on how many photos you’re uploading, it may take a few moments to transfer. Now that you’ve completed the process to transfer iPhone photos to computer, it’s safe to delete them from your iPhone.
To quickly find your newly uploaded images in the future, consider creating folders to organize them. You can create photo albums labeled by events or years, or tag your pictures with memorable phrases. Find a system that works for you and stay consistent.
Take the time to protect the pictures on your computer with data back-up and recovery! The local experts at Computer Troubleshooters will create a back-up solution that meets your needs and budget. Get in touch with your local Computer Troubleshooters today.


Simplify your search for an antivirus software with this guide.
read more
Have you received this notorious Windows error screen? Here’s how to fix it.
read more© 2026 Computer Troubleshooters.