General
How to Choose the Best Antivirus Software
Simplify your search for an antivirus software with this guide.
read moreFind the location nearest you
Published on: January 1st, 2022

IP addresses are essential in allowing devices on a common network, like printers and computers, to connect and send information to each other. If you’re having trouble with your printer and need to change its IP address, keep reading to find out how to set a static IP address for a printer.
An IP address is a unique address that identifies a device connected to a local network, like your home or business’s internet. There are two types, static and dynamic.
Static IP addresses are primarily used for devices that need constant access to a network, like routers, printers, and servers. Since their identifiers are fixed, it’s easy for other devices to initiate communication with them because they’re the same every time.
On the other hand, dynamic addresses are assigned to a network-connected device on a temporary basis by the network’s router. They are typically more common than static addresses and are used on home, business, and consumer devices like computers, smartphones, and tablets. You can think of static addresses as permanent, while dynamic addresses are temporary.
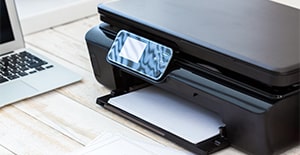
Unlike dynamic IP addresses, you need to set static IP addresses manually. Follow these steps to set your printer’s IP address to static from a web browser.
You’ll need to know your printer’s current IP address to set a new one. Once you find it, copy and paste it or write it down for future reference.
Using a computer connected to the same network as your printer, open your preferred web browser. In the browser, enter the IP address you found in step one into the address field bar at the top of the window. Once you press “enter,” the Embedded Web Server homepage should open.
Enter your system administrator password to log in.
Go to the printer network settings page and find the IP network configuration tap. It may also be labeled TCP/IP. Click on it and change the value from “dynamic” or “auto” to “static” or “manual.”
Now you can set a new IP address for your printer. Enter the address you’d like to use into the provided field, making sure that it’s one available on your network to avoid issues with duplicate addresses. Now your network will assign the address to the printer each time it connects to a device.
Last but not least, make sure to confirm your changes by clicking “apply” or “save.”
Are you having device or network troubles? Whether it’s your home computer or your business’s security network, our team has the expertise and the resources to keep you connected and protected. Find a Computer Troubleshooters location near you to learn more about our customized tech solutions and services.


Simplify your search for an antivirus software with this guide.
read more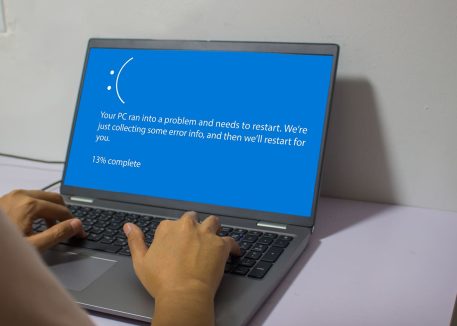
Have you received this notorious Windows error screen? Here’s how to fix it.
read more© 2026 Computer Troubleshooters.