
General
How to Choose the Best Antivirus Software
Simplify your search for an antivirus software with this guide.
read moreFind the location nearest you
Published on: February 7th, 2017
Not every repair requires a trip to the store to solve the issue. If your laptop has a cracked or malfunctioning screen, you may be able to fix it yourself! Follow this step-by-step guide for a Dell laptop screen repair that you can do yourself.
 Disconnect your laptop from any charging cables, power it off, and remove the battery.
If you would like further assistance, contact your local Computer Troubleshooters technicians. We would be more than happy to handle your Dell laptop screen repair! Find a CT location here and rest assured knowing your laptop is in good hands.


Simplify your search for an antivirus software with this guide.
read more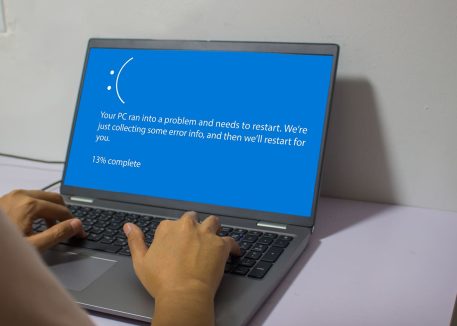
Have you received this notorious Windows error screen? Here’s how to fix it.
read more© 2026 Computer Troubleshooters.