
General
How to Choose the Best Antivirus Software
Simplify your search for an antivirus software with this guide.
read moreFind the location nearest you
Published on: September 14th, 2016

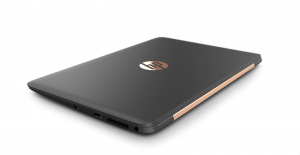
Sometimes we prefer to do things ourselves. In this Computer Troubleshooter’s do-it-yourself guide, you will learn how to do an HP Laptop screen repair. Simply follow the steps below to replace your cracked, old, or damaged screen.
 Now that we removed all the screws the bezel can be removed. Carefully pry the plastic away from the screen, starting from the side moving top around to bottom try not to apply too much force that is possible to break off plastic tabs underneath or to fracture the bezel.
Was this guide helpful? Need a professional opinion? Head to your local Computer Troubleshooters location. Our technicians are confident they can help with all of your computer repair needs. Visit a local Computer Troubleshooters location nearest you!


Simplify your search for an antivirus software with this guide.
read more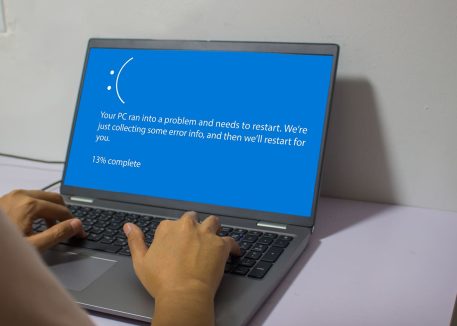
Have you received this notorious Windows error screen? Here’s how to fix it.
read more© 2025 Computer Troubleshooters.